A striking outdoor kitchen can still disappoint if the proportions are wrong. A grill crowded into a shallow counter feels restrictive, while an oversized island can consume the terrace and interrupt the view it was meant to enhance. Knowing how to size outdoor kitchen correctly is less about choosing the longest possible run of cabinetry and more about creating a setting that feels generous, intuitive, and beautifully composed.
For a premium outdoor space, dimensions should support the way you host: a quiet family dinner, a full weekend gathering, or hospitality-level service around the pool. Start with the available footprint, then shape it around appliances, movement, storage, and the architecture of the home.
Start With the Outdoor Living Zone, Not the Cabinets
The kitchen is one element within a larger outdoor room. Before selecting modules, map the full area that needs to work together: cooking, dining, lounge seating, circulation, doors, stairs, planters, and pool access. The most refined installations leave enough open space for people to move naturally without making the kitchen feel isolated from the action.
As a practical baseline, a compact outdoor cooking area can work within an 8-by-10-foot footprint when it includes a linear kitchen and a clear standing zone. For a kitchen with an island, bar seating, or multiple cooks, plan closer to 12 by 14 feet or more. Large terraces and resort-style patios may comfortably accommodate substantially larger configurations, but scale should still relate to the house, landscape, and primary entertaining area.
Do not measure only wall-to-wall. Identify doors that swing outward, pathways to the garden, pool gates, and areas where furniture will actually sit. A kitchen that technically fits can still compromise the property if guests must squeeze past the grill to reach the dining table.
Choose the Layout Before You Set the Length
Layout determines how efficiently every inch performs. A linear arrangement is often the most elegant choice for narrow patios, balconies, and terrace walls. It keeps utilities concentrated and gives the outdoor area a clean architectural line. A 7- to 10-foot linear kitchen is typically enough for a grill, landing space, storage, and either a sink or refrigerator.
An L-shaped kitchen creates more preparation space and can gently define a cooking zone without closing it off. It is especially effective where one side can face the garden or dining area. Allow enough depth at the corner for cabinet doors, appliance lids, and drawers to open without conflict.
A U-shaped layout offers a professional workflow, but it needs room to breathe. It is best reserved for larger patios or dedicated outdoor pavilions, where the cook can move between grilling, prep, washing, and serving zones without crossing through guests.
An island is ideal when entertaining is central to the brief. It turns cooking into a social experience and provides a natural place for serving or bar seating. However, an island should never be added simply because the footprint appears large enough. It must preserve comfortable circulation on every side.
Use the Working Triangle, Adapted for Outdoors
Traditional kitchen planning uses a triangle between the cooktop, sink, and refrigerator. Outdoors, the principle remains useful, although the grill is usually the focal point. Keep the grill, refrigeration, and sink or prep zone close enough to reduce unnecessary steps, but not so close that multiple people compete for the same narrow area.
For most residential outdoor kitchens, a compact working triangle feels right when each key station sits roughly 4 to 9 feet from the next. The goal is controlled movement, not a rigid formula. If the sink is rarely used outdoors, invest more space in prep surface and cold storage instead.
Size Appliances First, Then Build Around Their Clearances
Appliances dictate the true usable size of an outdoor kitchen. A grill may occupy 32, 36, or 42 inches of cabinet width, but the cooking experience also requires landing space, lid clearance, ventilation, and safe standing room. Treat appliance specifications as non-negotiable planning documents, especially for built-in gas grills and refrigeration.
A serious grill station should have counter space on both sides. Aim for at least 12 inches on one side and 18 to 24 inches on the other, with more room if the kitchen will handle frequent entertaining. This is where trays, tongs, platters, and hot food need to land quickly. A grill with no practical landing area may look minimal, but it will feel poorly considered from the first cookout.
If you are integrating a Big Green Egg, pizza oven, side burner, or power burner, give each appliance its own operational zone. Ceramic grills need lid-opening clearance and a heat-conscious surround. Pizza ovens require a dedicated serving surface. Side burners need space for pans and a safe area for handles.
Refrigeration also needs more than a neat opening in the cabinetry. Confirm ventilation requirements, door swing, and access to power. Place outdoor refrigerators near the serving side of the kitchen when guests will reach for drinks, rather than forcing them to enter the cook's workspace.
Plan the Clearances That Make a Kitchen Feel Expensive
Luxury is often felt in what is not crowded. The space in front of cabinets, between an island and a grill wall, and behind bar stools determines whether the kitchen feels effortless or frustrating.
For a single-cook working aisle, allow at least 42 inches between opposing counters. For two cooks or frequent guest traffic, 48 inches is the stronger choice. If an island includes seating, measure from the back of the occupied stools, not the countertop edge. A clearance of 44 to 48 inches behind stools is generally comfortable for passing traffic; more is preferable where guests will circulate regularly.
Counter depth matters as well. Standard outdoor cabinetry often uses a counter around 24 inches deep, which suits most grills, sinks, and storage. A deeper 30-inch counter can create a more substantial visual statement and offer valuable prep room, but it takes meaningful space from patios and should be used deliberately.
Counter height should usually remain close to 36 inches for food preparation. A raised bar at approximately 42 inches creates a distinct entertaining perch, while a lower dining-height surface may suit relaxed, family-oriented spaces. Mixing heights can be beautiful, but too many level changes can make a compact kitchen feel busy.
Let Your Guest Count Set the Scale
A kitchen for two people and occasional grilling does not need the same footprint as one designed for ten guests around a cocktail bar. Be candid about the events the space is expected to host.
For intimate use, prioritize a high-performance grill, practical prep space, concealed storage, and refrigeration. A polished linear configuration may be all that is needed. For regular gatherings of six to ten people, add a larger prep area, generous refrigeration, and an island or bar that lets guests stay close without blocking the cook.
For large homes, vacation properties, and hospitality environments, think in stations. The grill zone, beverage zone, plating area, and guest seating should work independently during service. This avoids the common problem of every person converging around one refrigerator or one narrow counter.
Do Not Forget Utilities, Weather, and Service Access
The best layout on paper can fail if utility access is an afterthought. Gas, electrical service, water, drainage, and ventilation requirements affect where the kitchen can sit and how its modules should be configured. Have these conditions assessed early, particularly in rooftop settings, covered terraces, and locations with strict local codes.
Weather also changes sizing decisions. In exposed areas, leave room for protective covers, pergola posts, wind screens, and drainage paths. Avoid placing a grill where prevailing wind pushes smoke directly toward dining seats, open doors, or neighboring properties. If a kitchen is under a roof structure, verify clearances and ventilation requirements for the specific grill installation.
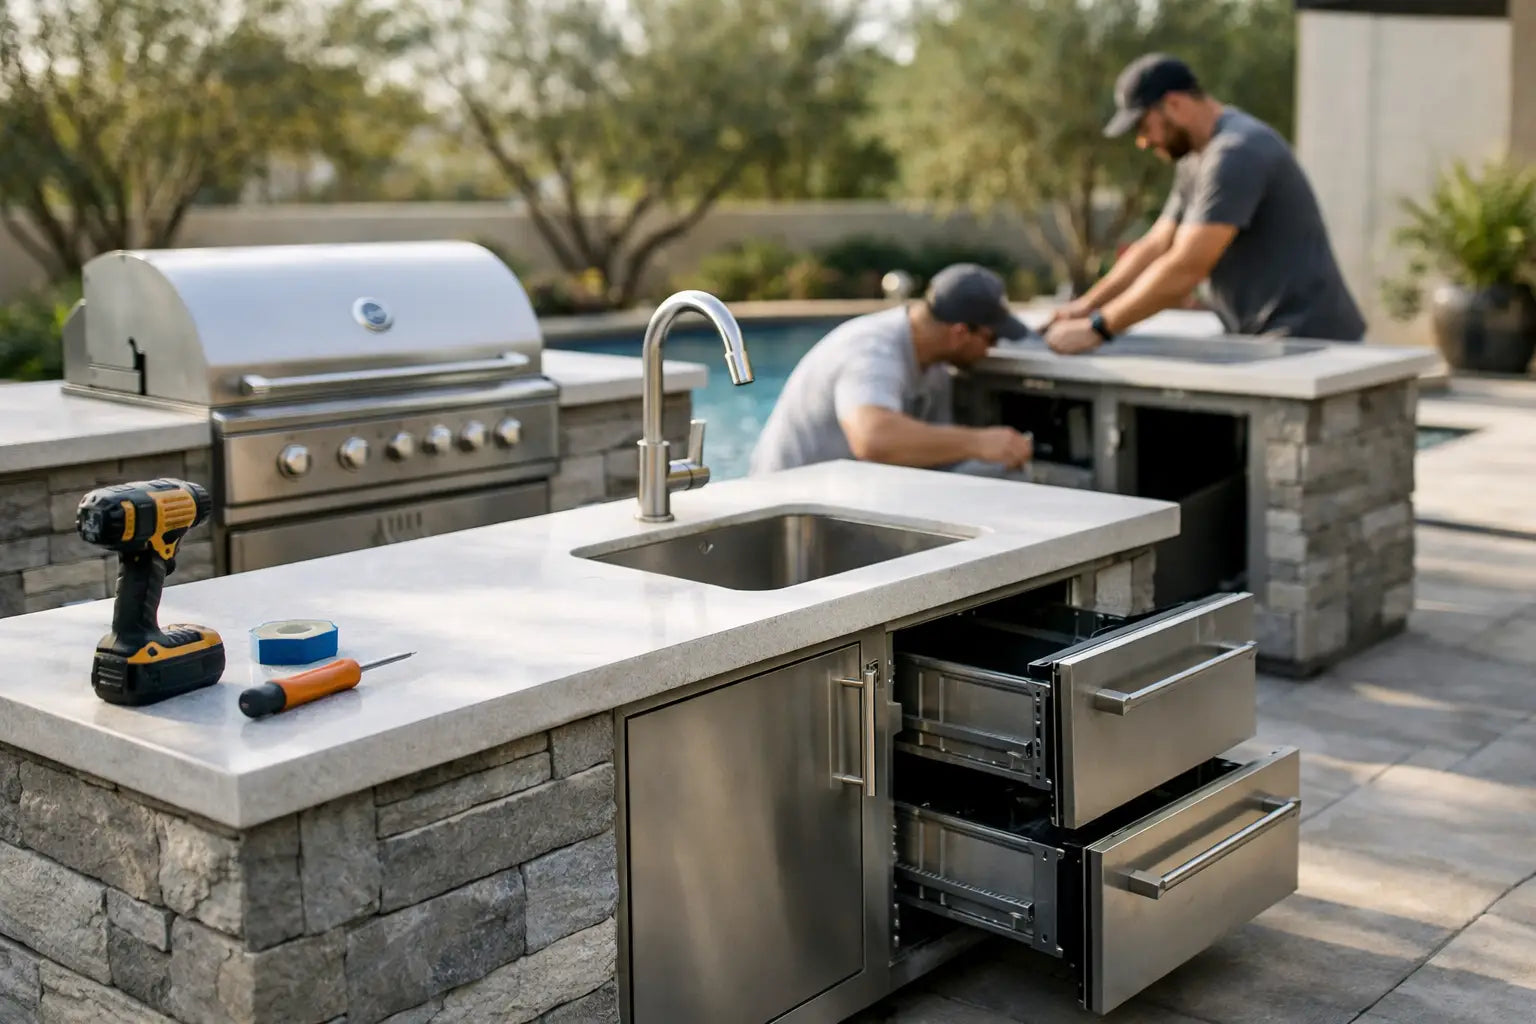
Service access deserves the same attention. Refrigerators, grills, plumbing connections, and gas shutoffs should remain reachable without dismantling the entire installation. Pre-assembled modular systems such as ELEEXA make this planning more controlled, because the cabinetry arrives as a precisely defined composition rather than an improvised on-site construction project.
A Simple Sizing Framework for Confident Decisions
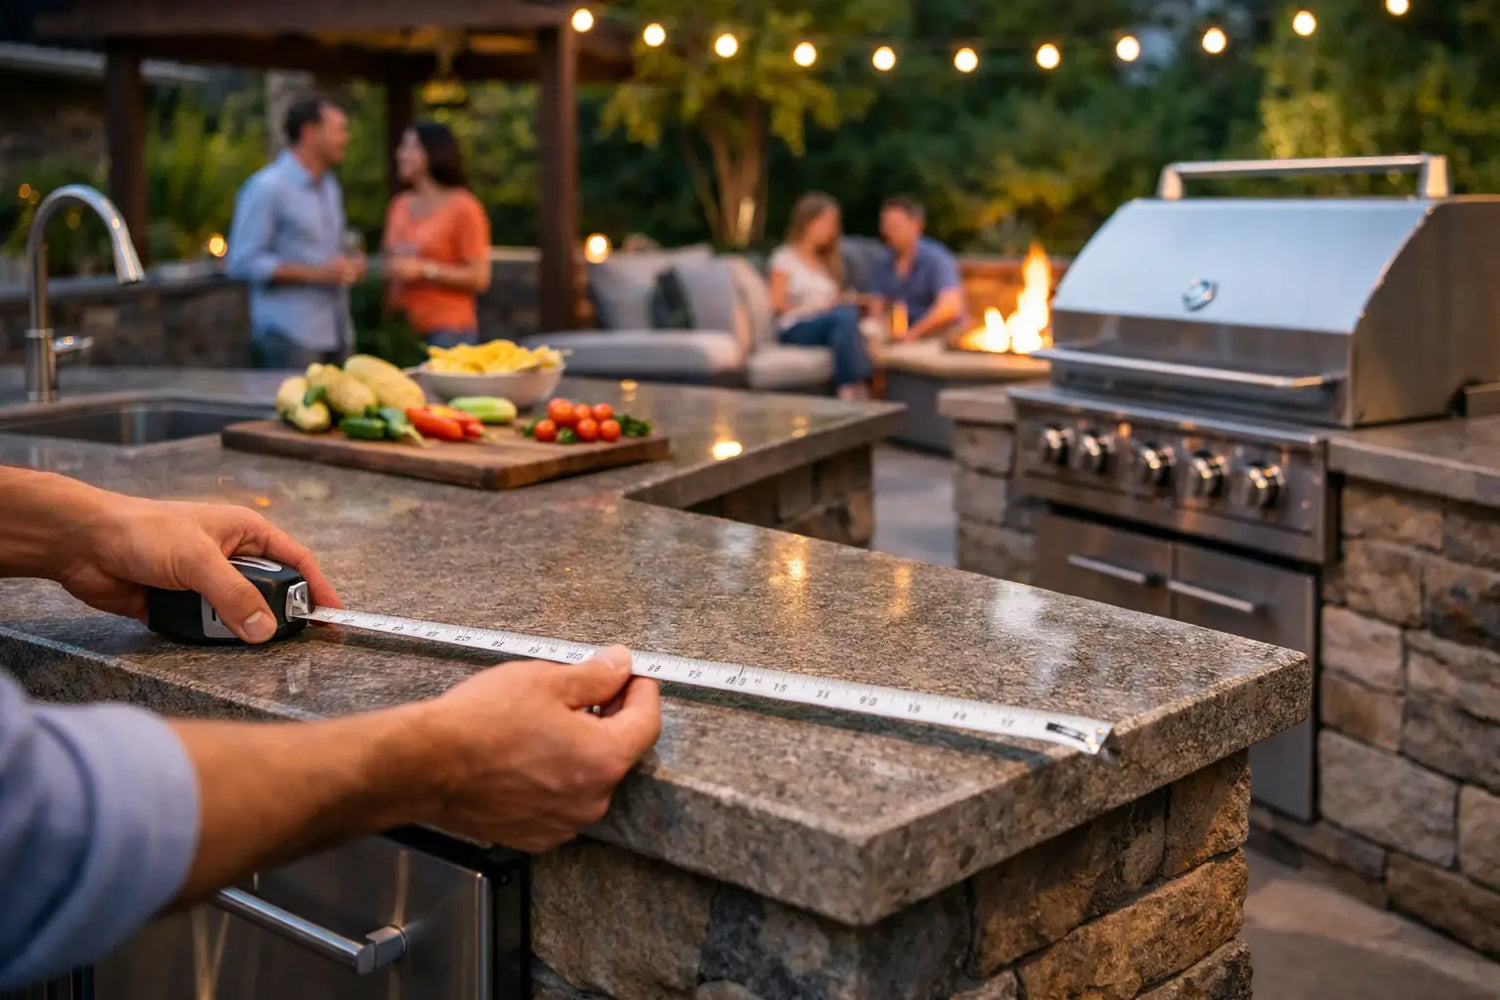
Before finalizing a configuration, establish four measurements: the full usable patio footprint, the appliance widths and manufacturer clearances, the required working aisles, and the circulation route around the kitchen. Then reserve space for dining and lounge furniture before expanding the cabinetry.
The right kitchen is rarely the largest one that can be drawn into the plan. It is the one that gives the grill room to perform, gives guests room to gather, and gives the architecture a confident focal point. When every dimension earns its place, outdoor cooking feels less like an added feature and more like the natural center of the property.