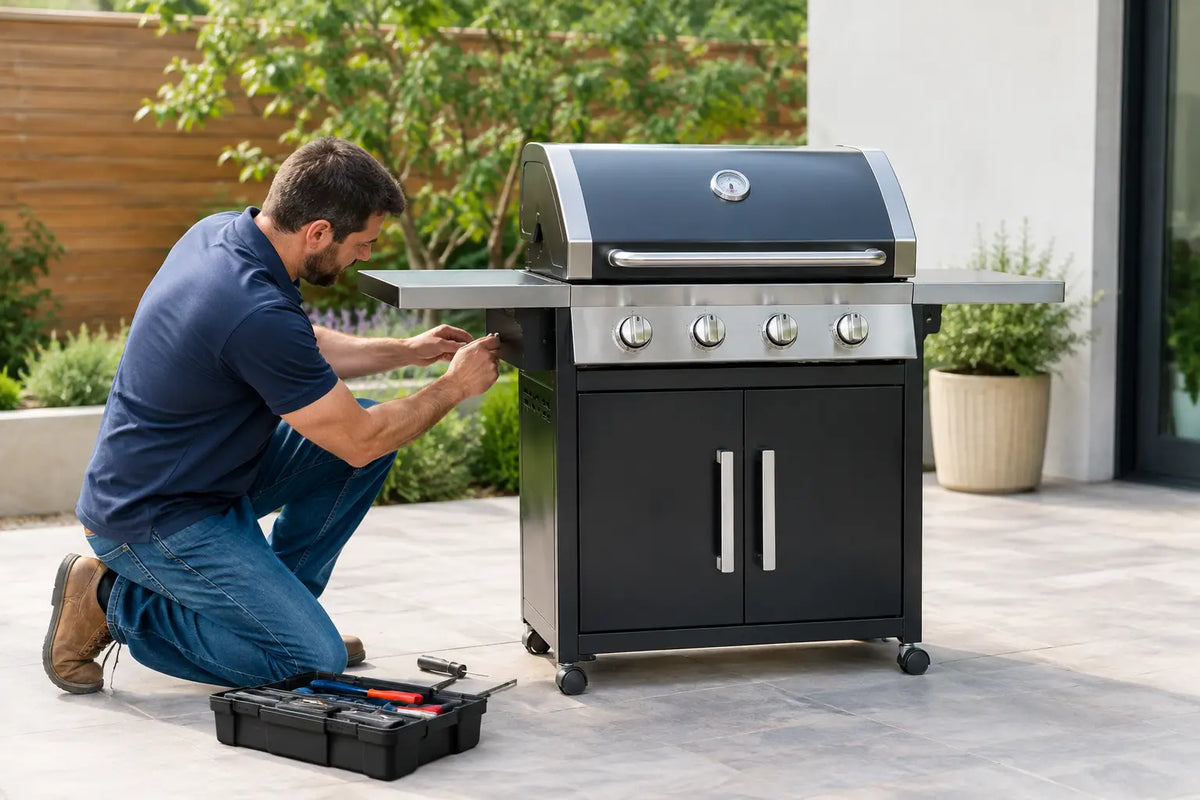
A freestanding grill module should arrive as the beginning of an exceptional outdoor kitchen, not the start of a construction project. When you install a freestanding grill module correctly, the result feels deliberate: a beautifully aligned cooking station, stable underfoot, properly connected, and ready for an evening that moves effortlessly from grilling to entertaining.
That simplicity is the advantage of a premium pre-assembled module. Unlike a masonry build, it does not require weeks of trades, dust, or permanent structural work. It does, however, deserve the same attention to site planning, utilities, and final positioning as any architectural feature of your home.
Start With the Space, Not the Grill
The best installation begins before delivery. Measure the intended location and confirm the module can travel from the delivery point to its final position. Gates, side passages, steps, tight corners, elevator dimensions, and rooftop access all matter. A generous terrace can still present an awkward route if a finished module must pass through a narrow opening.
Plan for the grill lid to open fully and for the cook to move comfortably around the front and sides. The working zone should feel composed rather than compressed. Leave room for cabinet doors or drawers, and avoid placing the module where a dining chair, pool traffic, or a frequently used door will interrupt the cooking area.
Clearances are not simply an aesthetic consideration. Your grill manufacturer specifies minimum distances from combustible surfaces, overhangs, windows, railings, and other structures. Follow those instructions precisely. A freestanding module gives you welcome flexibility, but it does not change the operating requirements of the grill installed within it.
Choose a stable, level foundation
A freestanding grill module needs a solid, level, load-bearing surface. A properly finished concrete patio, porcelain-tiled terrace engineered for outdoor use, stone pavers on a stable base, or a reinforced deck can all be suitable. Loose gravel, uneven flagstone, soft ground, and settling pavers are poor choices because they allow the cabinet to twist, rock, or fall out of alignment over time.
Use a long level across the planned footprint, checking front to back and side to side. Small discrepancies can often be corrected with the module's adjustable feet, but those feet are intended for fine tuning, not for compensating for a severely sloped patio. If the surface drains noticeably toward the house, correct the site before installation rather than shimming the kitchen into position.
The ideal location combines practical proximity with visual calm. Position the grill near the home for convenient access to food preparation and utilities, while giving smoke, heat, and guests enough breathing room. On rooftops, balconies, and elevated decks, confirm the structure's load capacity and local fire requirements before selecting the module and grill configuration.
Prepare Utilities Before You Install a Freestanding Grill Module
A true plug-and-play outdoor kitchen minimizes installation work, yet every grill still requires the correct fuel supply and safe connection. Decide whether the appliance will run on a standard propane cylinder or a dedicated natural gas line before the module is positioned permanently. The choice affects access, hose routing, connection hardware, and future servicing.
For propane, use the cylinder size, regulator, and hose arrangement approved by the grill manufacturer. Keep the cylinder upright, accessible, and located only where the grill and module design permit. Never store spare propane cylinders inside a closed cabinet unless that compartment was specifically designed, vented, and approved for such use.
For natural gas, have a licensed gas professional install and test the supply line, shutoff valve, and quick-connect fitting in accordance with local code. Do not treat a natural gas conversion as a cosmetic upgrade. The grill must be rated or professionally converted for the fuel source, and the installed gas pressure must meet the appliance specification.
If your configuration includes a refrigerator, lighting, rotisserie, side burner, or other powered feature, plan a weather-protected GFCI electrical outlet. Outdoor electrical work should be completed by a qualified electrician. Keep cords discreet and protected from heat, moisture, foot traffic, and cabinet mechanisms. A refined installation is one where the utilities support the experience without becoming part of the visual scene.
Delivery Day: Move With Control
Premium outdoor kitchen modules are built to feel substantial because they are substantial. Arrange delivery with enough capable help or appropriate handling equipment for the module's size and weight. Keep the pathway clear, protect finished flooring where needed, and inspect the packaging before it is removed.
Once unboxed, examine the cabinet exterior, countertop, doors, hardware, and grill cutout before final placement. Confirm that the delivered configuration matches the planned appliance, fuel type, and accessory layout. It is far easier to resolve a concern before a heavy module is moved into its exact final location.
Move the module upright unless its delivery instructions state otherwise. Avoid lifting by the countertop edge, doors, drawer pulls, grill opening, or accessory rails. These components are designed for daily use, not as carrying points. Use the structural base or designated handling locations, and protect finished surfaces from straps, tools, and sharp edges.
At ELEEXA, the purpose of a pre-assembled outdoor kitchen is to replace the uncertainty of site-built cabinetry with a composed, factory-finished result. Careful handling preserves that result from the first moment the module enters your outdoor space.
Position, Level, and Align the Module
Set the grill module into its planned location, then step back before making final adjustments. Look at it from the home, dining area, pool, and primary approach. The module should create a natural focal point without blocking a view or making circulation feel narrow.
Begin leveling at the cabinet base. Adjust the feet gradually, alternating between corners rather than raising one point dramatically. Recheck with a level across the countertop and along the grill opening. A level cabinet helps doors close correctly, drawers glide smoothly, countertop seams align, and grill grease management work as intended.
If you are installing multiple freestanding modules, align their front faces first, then refine countertop height and gap consistency. Small visual inconsistencies become obvious in a luxury outdoor kitchen, especially when dark cabinetry, long countertops, or integrated lighting create crisp horizontal lines. Use the manufacturer's joining hardware if supplied. Do not drill new holes, force cabinets together, or improvise fasteners that may compromise weather resistance or warranty coverage.
Once aligned, verify that every door, drawer, and pull-out component opens without obstruction. Check the grill lid again at full extension. A nearby wall, pergola post, or overhang that looked distant during planning can become a problem once the appliance is in place.
Install the Grill and Complete Connections
The grill must sit on the support system specified for that particular module and appliance. Follow the grill manufacturer's installation instructions for ventilation, insulation jackets, clearance requirements, mounting brackets, and gas connection points. Compatibility with leading grills does not mean every grill has identical dimensions or installation rules.
Before connecting fuel, make sure all burner controls are off. Connect the approved regulator or quick-connect line without twisting, pinching, or sharply bending the hose. For gas appliances, test every connection with a purpose-made leak-detection solution according to the grill manufacturer's procedure. Never test for leaks with an open flame.
For electrical accessories, connect only after confirming that the outlet is properly protected and that the appliance is rated for outdoor use. Route any cable so it remains accessible for inspection but visually concealed where possible. Avoid bundling electrical cables with gas hoses or placing either directly against hot surfaces.
Conduct the first ignition with the grill lid open, following the appliance's startup sequence. Observe the burners for even ignition and allow the grill to reach temperature. This initial run confirms more than performance: it gives you a chance to notice unusual odors, hose movement, clearance issues, or heat exposure around adjacent surfaces before guests arrive.
Protect the Finish and Keep the Installation Looking New
A freestanding module is easier to reposition than a fixed island, but it should not be treated as temporary furniture. Once installed, protect the cabinet and countertop with a fitted cover when the kitchen is not in use, particularly during prolonged rain, snow, salt-air exposure, or seasonal inactivity.
Clean spills promptly with materials appropriate to the countertop and cabinet finish. Avoid abrasive pads, aggressive degreasers, and chlorine-based cleaners unless the surface-care guidance specifically allows them. Stainless steel, powder-coated aluminum, ceramic surfaces, and premium composite countertops each have different care needs.
Periodically check the level, door alignment, gas hose condition, and utility connections. Seasonal temperature shifts, deck movement, and ground settlement can create small changes that are easy to correct early. For commercial and hospitality settings, add these checks to the property's routine maintenance schedule.
The final measure of a successful installation is not how quickly the module was placed. It is how naturally it becomes part of the way you live outside: ready for a quiet weeknight dinner, a long summer lunch, or a terrace full of guests without asking you to manage the kitchen around it.