
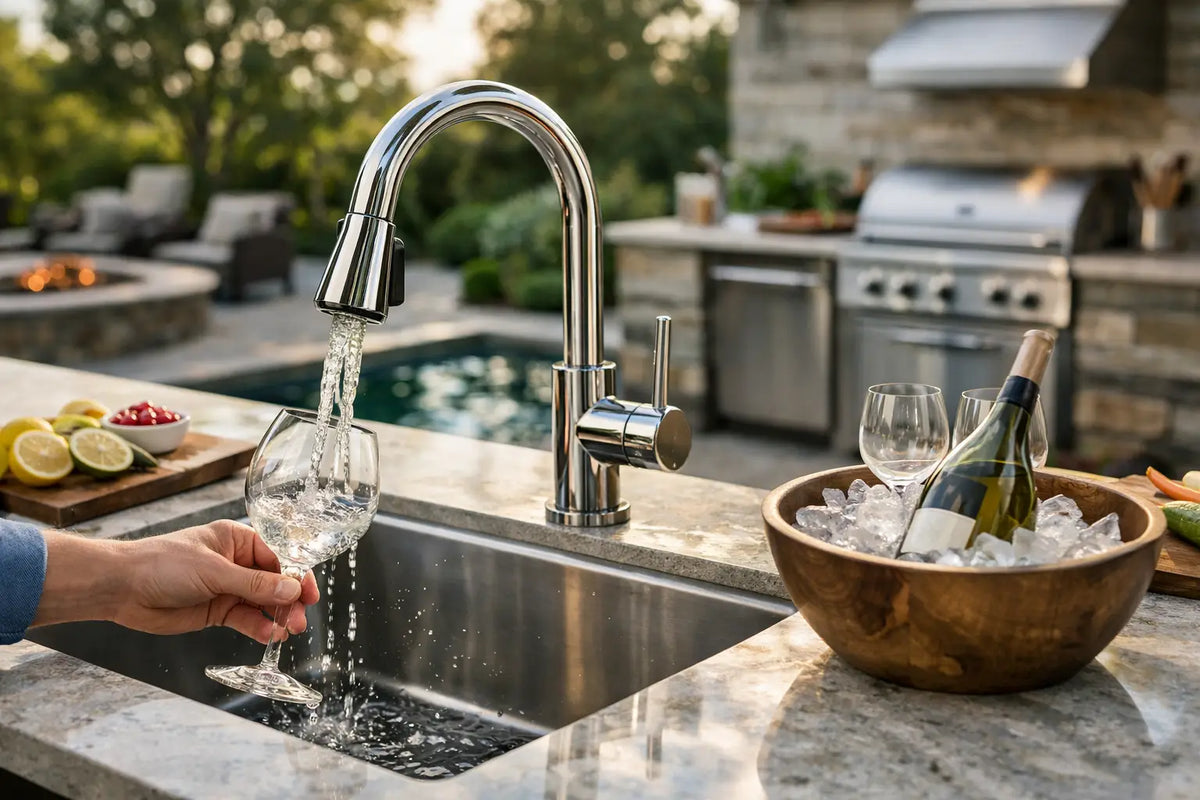
A sink transforms an outdoor kitchen from a beautiful grilling station into a place where hosting actually flows. You can rinse produce, fill a pot, wash hands, and clear glasses without carrying everything through the house. But the refined result depends on what happens below the countertop. This guide to outdoor sink plumbing explains the decisions that protect your investment, preserve a clean architectural finish, and keep your kitchen ready for every season.
Start With the Site, Not the Sink
The sink location should be driven by utility access and outdoor living patterns, not only by the visual layout. A sink beside the grill creates an efficient prep zone, while one near the seating area may better serve a bar or beverage station. Either approach can work beautifully, provided the water supply and drain route are realistic.
Before choosing cabinetry or a faucet, identify where the nearest cold-water line, hot-water line, sanitary drain, and electrical supply are located. A short, direct route is generally less expensive, easier to service, and less vulnerable to pressure loss or freezing. On a rooftop, terrace, or elevated deck, access beneath the finished surface can be the defining constraint.
A premium modular kitchen simplifies the visible installation, but it does not remove the need for a sound utility plan. Confirm the module’s sink opening, cabinet clearance, service access, and connection points before the unit arrives. The goal is a composed installation, not a beautiful kitchen forced to accommodate improvised plumbing afterward.
Choose the Right Water Supply
Most outdoor sinks connect to the home’s potable water system. Cold water is the baseline for rinsing and cleanup. Hot water adds real comfort and elevates the experience, especially for frequent entertainers, hospitality settings, and kitchens used beyond summer.
Cold Water Only
A cold-water supply is the cleanest choice for a simple prep sink. It requires one supply line and is often sufficient where the sink will be used primarily for produce, ice buckets, and handwashing. It can also reduce installation complexity when the outdoor kitchen is located far from the home’s water heater.
The trade-off is obvious on a cool evening or after a rich barbecue service: cold water is less effective and less pleasant for washing greasy cookware. If you expect the sink to function as a true cleanup station, hot water is worth planning from the beginning.
Hot and Cold Water
A hot-and-cold faucet requires two supply lines and a practical source of hot water. Extending a line from the home’s existing water heater is often the most polished solution when the kitchen is close to the house. For more distant locations, a compact point-of-use electric water heater may be appropriate, provided the electrical capacity, local code requirements, and weather protection are addressed.
Use plumbing materials rated for potable water and suited to the installation. Supply lines exposed to sunlight, physical damage, or changing temperatures need more protection than lines concealed inside a conditioned utility wall. A licensed plumber can determine the correct pipe type and diameter for your water pressure and local regulations.
Add Shutoff Valves Where You Can Reach Them
Every outdoor sink should have accessible shutoff valves inside the sink cabinet or another protected service area. They allow you to isolate the faucet for maintenance, seasonal shutdown, or travel without interrupting water service to the entire property.
For seasonal homes and cold climates, a dedicated interior shutoff with a drain-down point is even better. It gives you a reliable way to empty the exterior supply line before freezing conditions arrive.
Outdoor Sink Drainage: The Decision That Matters Most
Fresh water is only half of the system. Drainage determines whether your outdoor sink remains hygienic, odor-free, and compliant with local plumbing rules. In most permanent installations, the preferred solution is to connect the sink to the home’s sanitary sewer system.
Connecting to a Sanitary Drain
A sanitary connection is the most durable option for an outdoor kitchen used regularly. Wastewater travels into the same approved drainage network that serves indoor sinks, which means normal dishwashing and food-prep activities can be handled appropriately.
The drain needs proper slope so water moves by gravity rather than sitting in the pipe. It also needs a trap, typically a P-trap, to prevent sewer gas from entering the sink cabinet or outdoor entertaining area. Depending on the layout and local code, the drain may require a vent connection or an approved air admittance valve. This is not a detail to guess at: drainage and venting requirements vary by jurisdiction.
Why a Dry Well Is Rarely the Right Answer
It can be tempting to direct sink water into gravel, a dry well, or the garden. That approach may be allowed for limited graywater use in some locations, but it is often restricted or prohibited when wastewater contains grease, food particles, detergents, or sanitizer. It can also create drainage odors, attract pests, and saturate soil near foundations or deck structures.
A dry well may suit a very limited hand-rinse station in a location with explicit local approval. It is not the premium default for a full outdoor kitchen. If the sink will handle cooking cleanup, connect it to a proper sanitary drain.
Plan for Cleanouts and Easy Service
Even a well-designed outdoor sink can encounter a blockage. Include a cleanout where the drain line can be serviced without dismantling finished cabinetry, pavers, or landscaping. Inside the sink cabinet, leave enough clear space to inspect the trap and connections.
This is one reason pre-assembled outdoor kitchen modules are so compelling. A carefully engineered service bay maintains the uncluttered exterior while allowing a professional to reach the components that need occasional attention.
Freeze Protection Is Non-Negotiable in Cold Regions
Water expands when it freezes. A small amount left in an exterior line can split a pipe, damage a faucet, or cause a hidden leak when spring arrives. If your property experiences freezing temperatures, winterization must be part of the design rather than an afterthought.
First, route supply pipes through protected spaces wherever possible. Lines running across an exposed wall, beneath an open deck, or through an uninsulated cabinet face greater risk. Insulation helps, but insulation alone does not make standing water safe in a hard freeze.
Use a frost-proof hose bib or a dedicated interior shutoff for the outdoor sink supply. At the end of the season, shut off the water from inside, open the exterior faucet, and drain the line completely. A plumber may use compressed air to clear low points where water can remain trapped. Also empty the faucet and P-trap if the system will sit unused through winter.
In mild climates, a permanent year-round installation may need only insulated pipes and a protected cabinet. In mountain, northern, or four-season regions, a winterization plan is essential. The right approach depends on climate, exposure, and how often the kitchen is used.
Select Fixtures Built for the Outdoors
A standard indoor faucet can corrode, fade, or become difficult to operate outside. Choose a fixture rated for exterior use or made from durable materials such as stainless steel or marine-grade components. The finish should tolerate UV exposure, moisture, salt air where relevant, and frequent cleaning.
A high-arc faucet gives you clearance for pitchers and large serving pieces. A pull-down spray head is useful for rinsing the sink basin and cleaning grill tools, although it introduces a hose and spray mechanism that should be high quality. For a hospitality property, consider a faucet with a robust ceramic cartridge and readily serviceable parts.
The sink itself should be deep enough for its intended role. A compact bar sink is ideal for cocktails and ice, while a deeper basin makes more sense beside a serious grill. Stainless steel remains a strong choice because it is durable, hygienic, and visually aligned with premium outdoor appliances.
Build the Installation Around Access and Safety
Outdoor sink plumbing crosses several trades. A plumber manages water and drainage; an electrician may be needed for a hot-water unit, disposal, or nearby outlets; and the kitchen installer ensures the cabinetry is level, secure, and accessible. Coordinating these elements before delivery avoids costly rework.
Keep supply connections away from heat sources, especially grill fireboxes and exhaust paths. Secure every line so vibration, cabinet movement, or stored items cannot stress fittings. If the sink is near an appliance requiring electricity, use properly protected circuits and outlets suitable for wet locations.
An air gap or other approved backflow protection may be required where a dishwasher, filtration system, or other accessory connects to the sink. Local codes set the standard, and they are designed to protect the home’s drinking water. A professional installation is not merely a convenience here. It is the safeguard behind a kitchen that performs as exceptionally as it looks.
A Better Brief for Your Plumber
Bring your plumber into the project early with the exact kitchen plan, sink specification, faucet model, proposed location, and a clear view of the route back to utilities. Ask whether the drain can maintain proper slope, where shutoffs and cleanouts will sit, how the lines will be winterized, and whether permits are required.
For an ELEEXA-style plug-and-play outdoor kitchen, the ideal outcome is simple: the cabinetry arrives composed, the utility points are prepared, and final connections are made cleanly by a qualified professional. That is how outdoor plumbing becomes invisible in the best sense - dependable, protected, and ready whenever the first guests arrive.

